Views: 0 Author: Site Editor Publish Time: 2024-11-23 Origin: Site


Changing a 3-hole bathroom faucet can seem like a daunting task, especially for those who are not familiar with plumbing or DIY projects. However, with the right tools, preparation, and step-by-step guidance, this task can be accomplished efficiently, even by beginners. Whether you're upgrading to a more modern design, fixing a leak, or replacing an old faucet, understanding the process is crucial for a successful installation. This article provides a comprehensive guide on how to change a 3-hole bathroom faucet, ensuring that you achieve a professional-level result.
In this guide, we will cover everything from the tools you'll need to the detailed steps involved in removing the old faucet and installing the new one. Additionally, we will highlight the importance of choosing high-quality products, such as those offered by modern pull-out faucets, to ensure durability and functionality. By the end of this article, you'll be equipped with the knowledge to tackle this project confidently.
Before diving into the installation process, it's essential to understand the structure and functionality of a 3-hole bathroom faucet. These faucets are designed to fit sinks or countertops with three pre-drilled holes, typically accommodating two handles (hot and cold) and a spout. This design offers a balance of style and practicality, making it a popular choice for many homeowners.
The three-hole configuration allows for a wide range of faucet styles, from traditional to contemporary. For instance, products like the kitchen faucets by Victor showcase innovative designs that blend aesthetics with functionality. When selecting a replacement faucet, it's crucial to ensure compatibility with your sink's hole configuration and consider features such as water efficiency, ease of use, and design appeal.
To successfully replace a 3-hole bathroom faucet, you'll need the following tools and materials:
Adjustable wrench
Basin wrench
Plumber's tape
Bucket or container
Cleaning supplies (e.g., sponge, cleaning solution)
Replacement faucet
Silicone sealant (optional)
Having these tools on hand will make the process smoother and help you avoid unnecessary delays. It's also advisable to review the installation instructions provided by the faucet manufacturer, as they may include specific requirements or recommendations.
Begin by shutting off the water supply to the faucet. Locate the shut-off valves under the sink and turn them clockwise until they are fully closed. If your home lacks individual shut-off valves, you may need to turn off the main water supply. Open the faucet handles to release any remaining water and relieve pressure in the lines.
Using an adjustable wrench, disconnect the water supply lines from the faucet. Place a bucket or container beneath the connections to catch any water that may spill. Be sure to keep track of any washers or fittings, as they may be reused during the installation of the new faucet.
Loosen and remove the mounting nuts securing the old faucet to the sink or countertop. A basin wrench can be particularly helpful for reaching tight spaces. Once the nuts are removed, carefully lift the faucet assembly out of the sink. Clean the area thoroughly to remove any debris, old sealant, or mineral deposits.
Position the new faucet over the three holes in the sink or countertop, ensuring proper alignment. Secure the faucet in place using the mounting hardware provided by the manufacturer. Tighten the nuts evenly to create a secure fit, but avoid over-tightening, as this could damage the sink or faucet.
If you're installing a modern faucet, such as the contemporary pull-out faucet, follow the specific instructions included in the packaging to ensure proper functionality.
Attach the water supply lines to the new faucet, ensuring a snug fit. Use plumber's tape on the threads to prevent leaks. Once connected, turn on the shut-off valves and check for any leaks. Tighten the connections as needed to resolve any issues.
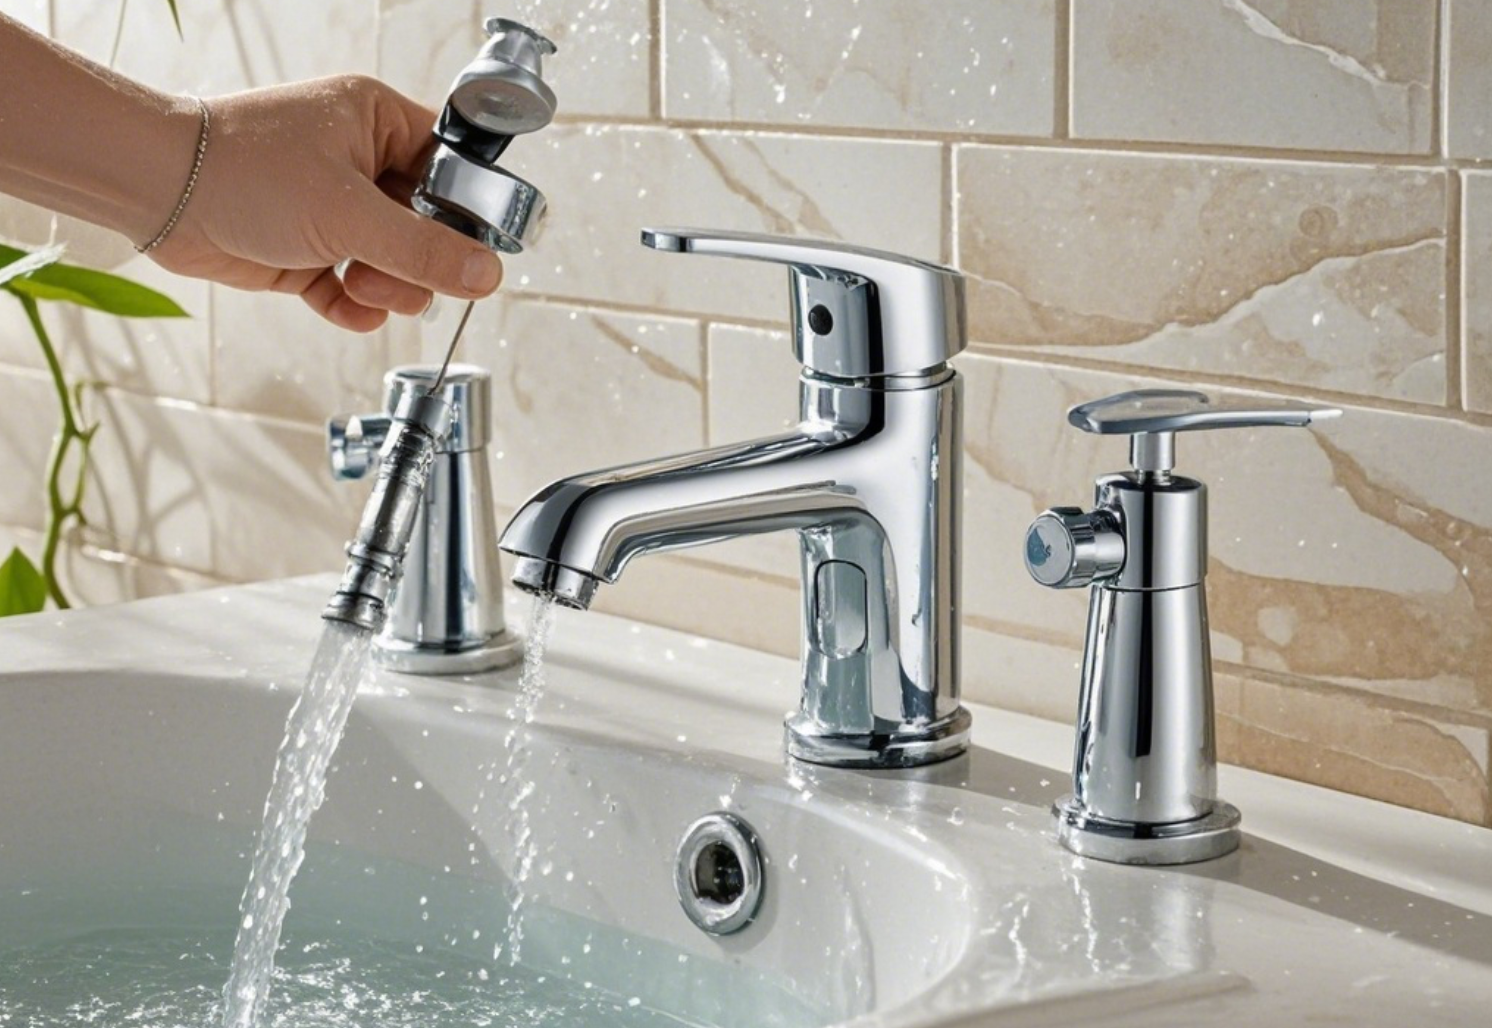
Turn on the faucet handles and let the water run for a few minutes to flush out any debris or air trapped in the lines. Check for leaks around the connections and the base of the faucet. If everything is functioning correctly, your new faucet installation is complete.
Replacing a 3-hole bathroom faucet is a manageable project that can enhance the functionality and appearance of your bathroom. By following the steps outlined in this guide, you can achieve a professional-quality installation and enjoy the benefits of your new faucet. Remember to choose a high-quality product, such as the comfortable single-handle pull-out faucet, to ensure long-lasting performance and style.
Whether you're a homeowner looking to upgrade your bathroom or a DIY enthusiast tackling a new project, this guide provides the knowledge and confidence needed to succeed. Happy plumbing!
